Free camera app for iPhone

MIRILLA

A VIEWFINDER WITH REAL DIALS

Aperture, shutter speed and ISO on three dials that never leave the screen. A zoom ring marked in millimetres. Focus modes, white balance, a live histogram and RAW, laid out the way your camera does it.

Free · No account · No ads · Requires iOS 17 or later · English, Català, Español

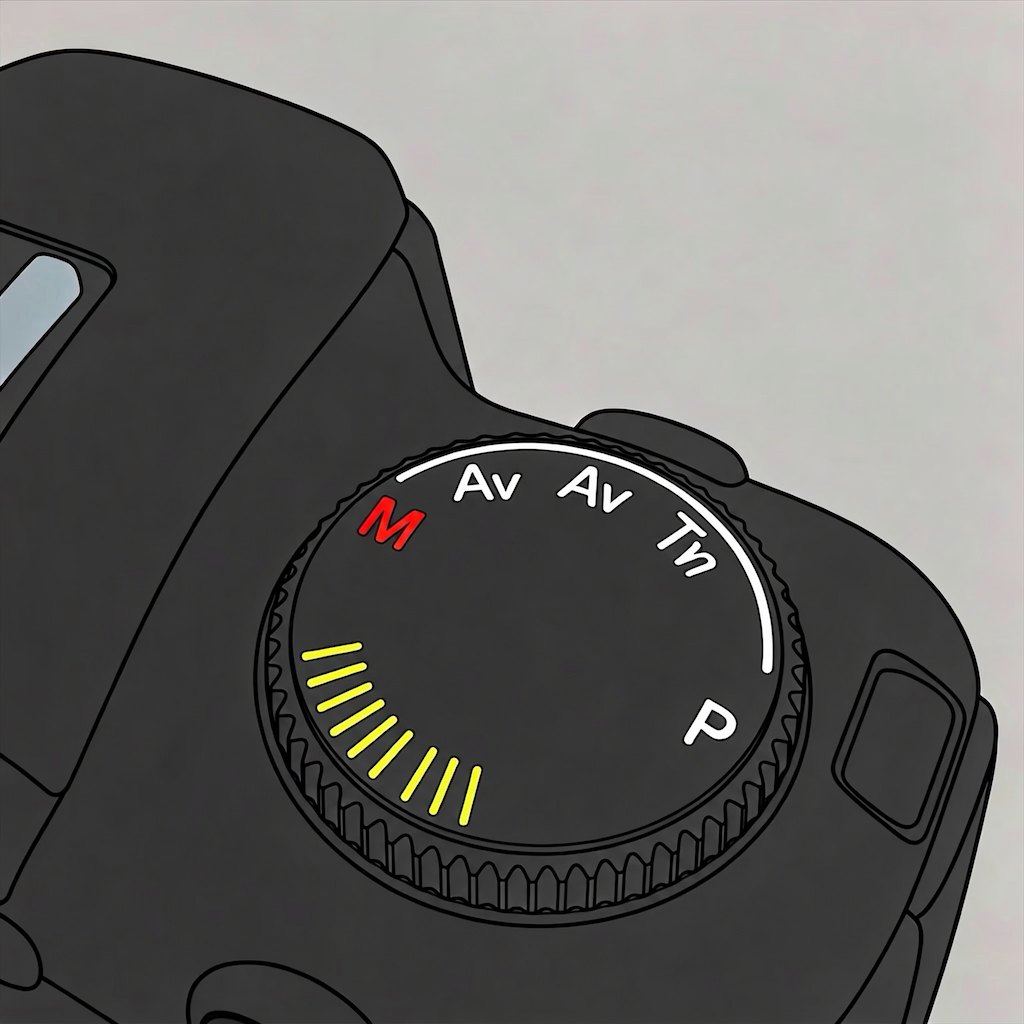
Illustration of a camera mode dial set to M
Who it’s for

For people who think in f-stops.

If you know what f/5.6, 1/125 and ISO 100 will look like before you press the shutter, Mirilla lets you use that knowledge on your iPhone.

You shoot manual on a DSLR or mirrorless

The phone’s own camera decides everything for you. Mirilla gives the decisions back.

  • The exposure triangle, as dials. Turn one, the other two stay exactly where you left them.
  • Familiar values. Full third-stop scales: f/1.4 to f/16, 1 s to 1/16000, ISO 100 to 4000.
  • Focal lengths, not “2×”. A zoom ring from 13 to 200 mm in 35 mm equivalents.
  • AF-S, AF-C, MF, white balance presets and Kelvin, and a histogram with clipping warnings.

Your iPhone is your second body

When the main camera is in the bag, or a lens change would cost you the shot.

  • Match your main camera. Dial the same exposure on both and get the same brightness.
  • U1 and U2 presets for the two situations you meet most, one tap away.
  • RAW (DNG) at 12 or 48 MP for the same editing workflow as your other files.
  • Full EXIF and location in every file, plus a camera-style info strip on review.
Features

Everything on one screen.

Mirilla opens straight into the viewfinder with the last settings you used. There are no hidden modes and no settings screen: every control is either on the screen or one tap away from it.

Mirilla camera screen in landscape
screenshots/en/camera-landscape.pngCamera screen · landscape
Dials

Aperture · Shutter · ISO

Three rotary dials in third-stop clicks with a light haptic on each step. They stay on screen; the eye button hides them when you want a clean view.

Real exposure

What you dial is what you get

Mirilla converts your settings into what the lens can actually do and tells you what it used. Variable aperture is used on the iPhone 18 Pro main camera.

Zoom ring

13 to 200 mm

Drag or tap the ring; Mirilla switches to the ultra-wide, main or telephoto camera for that focal length, and adds digital zoom only above a lens’s native length.

Focus

AF-S · AF-C · MF

Double-tap to place the focus point. The square turns yellow while focusing, green when sharp, and red with a warning when you are closer than the lens can focus.

White balance

Presets, Kelvin, Measure

Sun, Cloud, Shade, Incandescent, Fluorescent, a 2500–10000 K slider, or a preset measured off a white or grey card.

Histogram

Live, with clipping

Brightness of the live view, with a red edge for blown highlights and a blue edge for crushed shadows.

Formats

HEIF and RAW

HEIF at 12, 24 or 48 MP; RAW (DNG) at 12 or 48 MP on phones that support it. Frames: full screen, 16:9 and 4:3.

Presets

U1 · U2

Store aperture, shutter, ISO, white balance, frame and format, like the user positions on a mode dial.

Review

Keep, file or discard

Every shot is reviewed before saving, with an info strip showing exposure, size, date and position. Save to Photos, or to Files in several sizes.

How exposure works

Your exposure, translated honestly.

A phone lens cannot reach every aperture a camera lens can. Mirilla keeps the brightness you asked for and shows you exactly how it got there, instead of quietly changing your settings.

  1. The lens goes to the nearest aperture it has. On the iPhone 18 Pro main camera the iris really moves between f/1.48 and f/4. Other lenses, and older iPhones, have a fixed aperture.
  2. The shutter makes up the difference. If you dial f/8 on a lens that stops at f/4, Mirilla uses a shutter two stops faster, so the photo is exactly as bright as f/8 would be. Depth of field stays at f/4.
  3. ISO covers whatever the shutter cannot. When the shutter reaches its limit, ISO takes over.
  4. You see the result. The REAL line shows the values used for the photo. LIMIT appears in red when the camera cannot reach the exposure you dialled, and says by how much.
DIALSf/8 · 1/125 · ISO 100
REALf/4 · 1/500 · ISO 100
VIEWf/4 · 1/500 · ISO 100
DIALSf/16 · 1/8000 · ISO 100
REALf/4 · 1/32000 · ISO 50 LIMIT +1.0 EV

Example readouts. Exact values depend on the lens and the phone.

Slow shutter, fluid viewfinder. Below about 1/40 s the live view keeps a faster shutter with more ISO so it stays smooth; the slow shutter is used only for the photo. The VIEW line shows what the live view is using whenever it differs from REAL.
User guide

How to use Mirilla.

A short manual, in the order you will meet things. Tap i at the top left of the camera screen at any time for a summary in the app.

01

First launch

The first time you open Mirilla, a short introduction explains what the app does. Tap START to go to the camera.

Mirilla then asks for three permissions, each only when it is needed:

  • Camera, for the viewfinder. Required.
  • Location, to record where each photo was taken. Optional: without it, photos are simply saved without a position.
  • Add to Photos, the first time you save to your library. Mirilla can only add photos; it can never see the rest of your library.

If you declined camera access, the screen shows CAMERA ACCESS IS OFF with a button that opens Settings.

Intro screen
screenshots/en/intro.pngIntro screen
02

The screen

  1. Help i opens a summary of the controls.
  2. Frame FULL 16:9 4:3: the shape of the photo.
  3. Readouts: aperture, shutter and ISO as dialled. The shutter box turns yellow when it is too slow to hand-hold.
  4. White balance WB and format HEIF 12 boxes: tap to change.
  5. Flash and self-timer.
  6. REAL / VIEW lines, shown only when they differ from the dials.
  7. Histogram, top right. ✕ hides it; the chart button brings it back.
  8. Focus mode AF-S AF-C MF.
  9. Shutter and the eye button, which hides or shows the controls.
  10. Zoom ring and the three dials, with the U1 · U2 preset button.
In landscape the readouts move into the top bar, the shutter sits in the lower right corner and the focus selector in the lower left, so both thumbs reach everything.
Camera screen in portrait with numbered controls
screenshots/en/screen-tour.pngCamera screen · numbered
03

Exposure dials

Put a finger on a dial and turn it like a real one: clockwise to increase, counter-clockwise to decrease. Each click is one third of a stop, with a light tap you can feel.

DialRange
Aperturef/1.4 – f/16
Shutter1 s – 1/16000 s
ISO100 – 4000

Changing one dial never moves the others. Mirilla works out how the phone can achieve that exposure (see How exposure works) and shows it on the REAL line when it differs.

Slow-shutter warning. The shutter readout turns yellow when the real shutter is slower than 1 / focal length, and never faster than 1/30 s: 1/30 at 24 mm, 1/100 at 100 mm, 1/200 at 200 mm. For exposures of ¼ s and longer, EXPOSING… appears while the shutter is open.
The three exposure dials
screenshots/en/dials.pngDials panel
04

Zoom ring and lenses

The ring is marked in 35 mm-equivalent focal lengths: 13 · 24 · 28 · 35 · 48 · 100 · 200. Drag it or tap a number to jump there. Pinch the viewfinder for anything in between; the ring then rests between two numbers.

Mirilla chooses the camera itself: the ultra-wide below 24 mm, the main camera from 24 mm, and the telephoto from its native focal length (100 mm on the iPhone 18 Pro). Above a lens’s native length it adds digital zoom on that lens. Focal lengths a phone cannot reach are dimmed.

Photos records which physical camera took the picture and the effective focal length separately. A 200 mm shot on the iPhone 18 Pro shows Telephoto Camera — 100 mm with 200 mm below, exactly as with the built-in Camera app.
The zoom ring
screenshots/en/zoom-ring.pngZoom ring
05

Focus

ModeWhat it does
AF-SFocuses once where you double-tap, then locks.
AF-CKeeps refocusing on the chosen point.
MFA slider sets the distance: macro on the left, mountains on the right.

Double-tap the viewfinder to place the focus point; a light tap confirms focus. Double-tap the square again to return to the centre.

  • Yellow square: focusing.
  • Green square: in focus.
  • Red square with TOO CLOSE · MOVE BACK: the subject is nearer than this lens can focus. Step back, or zoom out to a wider lens. The banner shows the lens’s minimum distance when the phone reports it.
Too-close warning
screenshots/en/focus-too-close.pngToo-close warning
06

White balance

Tap the WB box and choose:

SettingBoxTemperature
AutoAUTOautomatic
DaylightSUN5200 K
CloudyCLOUD6000 K
ShadeSHADE8000 K
IncandescentINCAN3000 K
FluorescentFLUO4200 K
Kelvin…nnnnKslider, 2500–10000 K
Measure…PREmeasured

Measuring a preset

  1. Choose Measure….
  2. Fill the frame with a white or grey surface: a grey card, a sheet of paper, a white wall in the same light as the subject.
  3. Tap SET. Mirilla locks white balance to that light and remembers it, even after you close the app.
White balance menu
screenshots/en/white-balance-menu.pngWhite balance menu
07

Format and frame

Tap the format box to choose the file type and resolution. The list shows only what the current lens and phone support.

  • HEIF 12 / 24 / 48 MP: processed photos, small files.
  • RAW 12 / 48 MP: DNG files with the full sensor data, for editing.

The frame buttons set the shape of the photo: FULL (the shape of your screen), 16:9 or 4:3. The viewfinder shows exactly that shape, with black bars around it, so what you see is what you get.

RAW is always 4:3. A RAW file holds the whole sensor, so the frame switches to 4:3 while a RAW format is chosen and the other frames are dimmed. Crop later in your editor.
Format menu
screenshots/en/format-menu.pngFormat menu
08

Histogram

The histogram at the top right shows the brightness of the live view: shadows on the left, highlights on the right.

  • A red bar at the right edge: highlights are clipping.
  • A blue bar at the left edge: shadows are crushed.

Tap ✕ to hide it and the chart button to bring it back. Mirilla remembers your choice.

Histogram
screenshots/en/histogram.pngHistogram
09

Flash and self-timer

Each button cycles through its settings with a tap.

  • Flash: off → on → auto. Dimmed on lenses without a flash.
  • Self-timer: off → 3 s → 10 s. The countdown is shown large on screen. Tap the shutter during the countdown to cancel it.
10

U1 and U2

Two user presets, like the U1 and U2 positions on a camera’s mode dial. Each stores:

aperture shutter ISO white balance frame format

  • Save: set everything up, tap U1 · U2 in the dials panel, and choose Save current settings to U1 (or U2).
  • Load: tap the same button and choose the preset. Its summary shows what it contains.

While your settings match a preset exactly, the button turns yellow and shows its name.

Examples: U1 for street at f/8 · 1/250 · ISO 400 · Daylight · HEIF 24; U2 for interiors at f/2 · 1/60 · ISO 1600 · Measured · RAW 48.
U1 and U2 menu
screenshots/en/presets-menu.pngU1 · U2 menu
11

Review and saving

After each shot, Mirilla shows the photo full screen. Pinch or double-tap to check focus; a marker shows where focus was set.

ButtonWhat it does
RETAKEDiscards the photo.
SAVESaves to your Photos library.
FILES ▾Saves to the Files app instead, without touching Photos.

Saving to Files

Useful for quick reference shots (a receipt, a label, a whiteboard) that don’t belong in your photo library. Choose a size:

SizeLonger sideFile
Full sizeas capturedHEIF, or DNG for RAW
Large4000 pxHEIF
Medium2400 pxHEIF
Small1280 pxHEIF

Files are in Files › On My iPhone › Mirilla. Reduced sizes have the size in their name, for example Mirilla_20261115_103649_212_2400.heic.

Photo review with the info strip
screenshots/en/preview.pngReview screen
12

EXIF and location

The strip at the bottom of the review screen works like a camera’s playback display:

  • Aperture, shutter, ISO and focal length, read back from the photo itself, so they are the values the camera really used.
  • Format and pixel dimensions.
  • Date and time of the shot.
  • Coordinates, or No location.

Every saved file carries full EXIF: camera and lens, exposure, focal length, date, and GPS position when location is allowed. Photos, Lightroom and other editors show it as they would for any camera.

Info strip
screenshots/en/info-strip.pngInfo strip
Quick reference

From your camera to Mirilla.

On your cameraIn Mirilla
Mode dial at MAlways. Mirilla is manual exposure only.
Front and rear command dialsAperture and shutter dials; ISO has its own.
Zoom ringZoom ring, 13–200 mm equivalent
AF-S / AF-C / MF switchFocus selector by the shutter
AF point selectionDouble-tap the viewfinder
WB button / preset manualWB box › Measure… › SET
Image quality (RAW / JPEG)Format box: HEIF or RAW
Crop / aspect ratioFULL · 16:9 · 4:3
U1 / U2 on the mode dialU1 · U2 button in the dials panel
Image reviewReview screen with info strip
Self-timerTimer button, 3 s or 10 s
Exposure compensationNot needed: you set the exposure directly.
Questions

Frequently asked.

Which iPhones does Mirilla work on?

Any iPhone with iOS 17 or later. What you get depends on the phone: the real aperture moves only on cameras with variable aperture (the iPhone 18 Pro main camera). Elsewhere the aperture dial still sets the exposure, through shutter and ISO. The zoom ring offers the focal lengths your phone’s cameras can reach, and RAW and 48 MP appear where the phone supports them.

Why doesn’t depth of field change when I go past f/4?

The iris on the iPhone 18 Pro main camera stops at f/4, and other phone lenses don’t have an adjustable iris at all. Beyond what the lens can do, Mirilla keeps the brightness correct with the shutter and ISO, but it cannot change depth of field. The REAL line always shows the aperture actually used.

Why is RAW always 4:3?

A RAW file contains the full sensor, which is 4:3. Mirilla shows you that whole frame in the viewfinder while RAW is selected, so nothing appears in the file that you didn’t see. Crop to any shape in your editor.

What does LIMIT mean?

The camera cannot produce the exposure you dialled, even with every setting at its end stop. For example, f/16 at 1/8000 on a lens that stops at f/4 would need a shutter four stops faster than 1/8000 and an ISO below the sensor’s minimum. The number shows how much brighter (+) or darker (−) the photo will be than you asked, in stops.

Why are VIEW and REAL different with slow shutter speeds?

A live view running at 1/4 s would stutter and smear. Mirilla keeps the viewfinder fluid with a faster shutter and higher ISO at the same brightness, and switches to your real shutter only for the photo.

Does Mirilla collect my location or any other data?

No. The position is written only into your own photo files, on your phone. Mirilla has no account, no analytics and no servers. You can turn location off in Settings › Mirilla at any time.

Where are the photos I saved to Files?

Open the Files app and go to Browse › On My iPhone › Mirilla. Pull down to refresh if a new photo doesn’t appear straight away.

Will Mirilla remember my settings?

Yes. Dials, frame, white balance (including a measured preset), format, histogram visibility and the U1 and U2 presets are all kept between launches.